How to Perform VAPT Penetration Testing on Your WordPress Site
VAPT has two parts: vulnerability assessment and penetration testing. Most WordPress owners can automate the assessment phase, then reserve manual testing for the risks that actually matter.

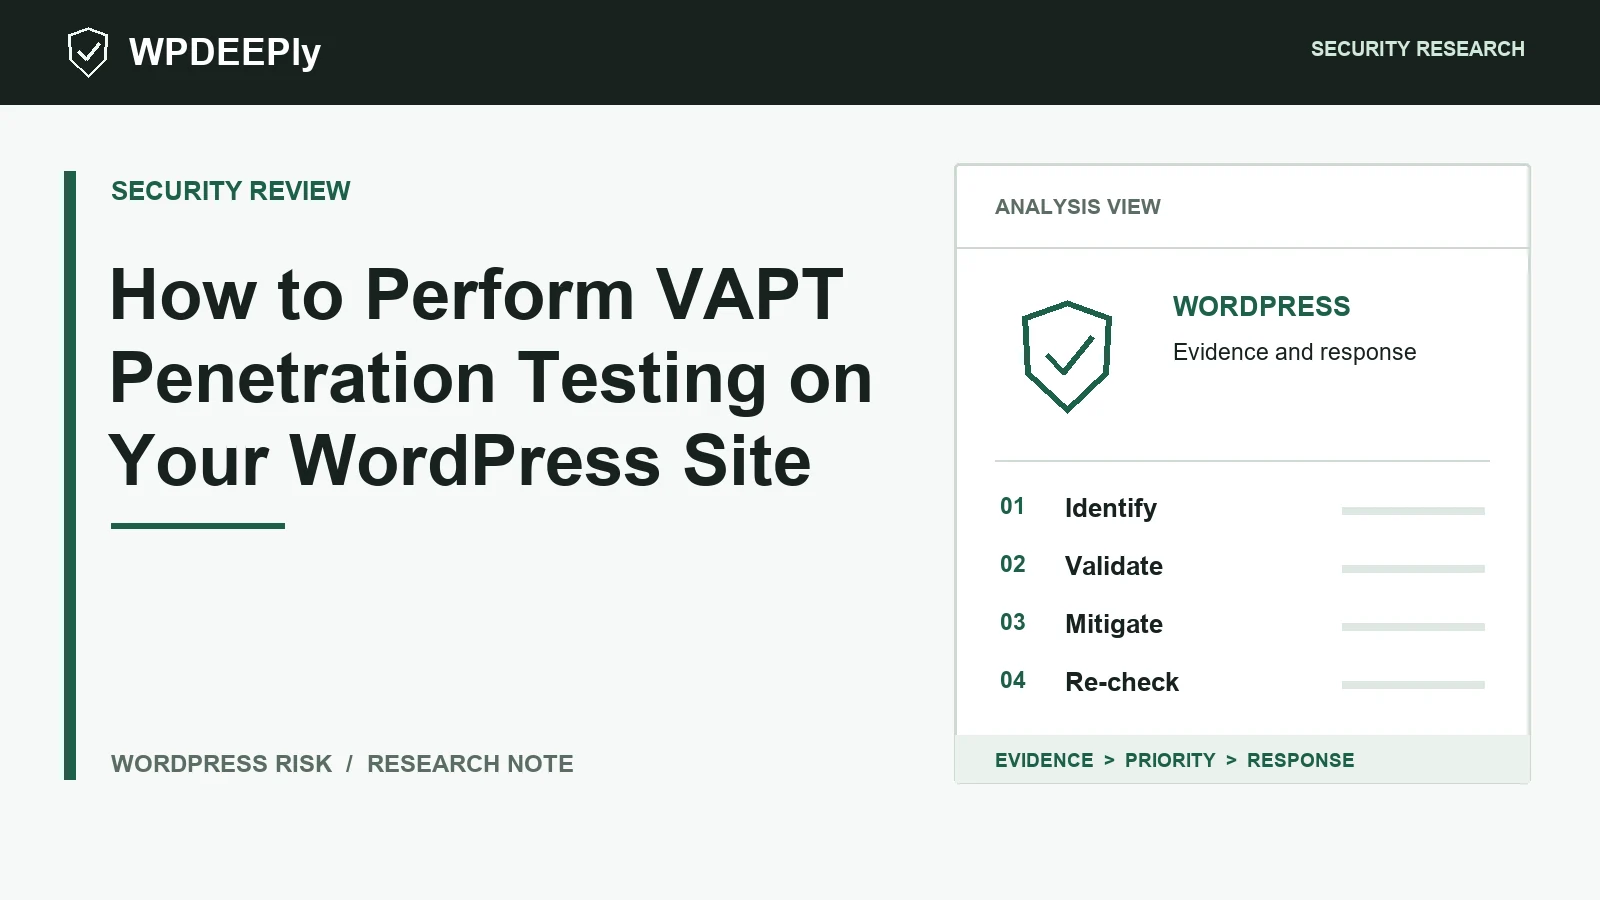
Quick answer: VAPT has two parts: vulnerability assessment and penetration testing. Most WordPress owners can automate the assessment phase, then reserve manual testing for the risks that actually matter.
Right now, automated scanners are checking WordPress sites for old plugin versions, exposed files, weak upload flows, and forgotten admin features. This guide explains the risk in practical terms and shows what to fix first.
What VAPT Means
VAPT stands for vulnerability assessment and penetration testing. The assessment identifies likely weaknesses; penetration testing validates whether those weaknesses can be exploited in your environment.
Phase 1: Automated Vulnerability Assessment
Start by scanning WordPress core, plugins, themes, PHP version, inactive components, abandoned software, and known CVEs. This gives you a factual risk list before anyone touches exploit tooling.
Phase 2: Active Penetration Testing
Manual testing checks authentication bypasses, SQL injection in custom forms, privilege boundaries, upload handling, REST routes, and business logic. This should be done ethically, with backups and clear permission.
Phase 3: Remediation and Monitoring
Patch, remove, replace, document, and rescan. VAPT without remediation is just expensive curiosity.
Automate the First Pass
Skip the agency fee for phase one. Download WPDeeply and automate your WordPress vulnerability assessment in minutes.
Final Security Takeaway
Security work gets easier when you stop guessing. Download the WPDeeply vulnerability scanner from the homepage, run a scan, and prioritize the plugins, themes, and WordPress components that create real exposure on your site.
